Setup
Fast Set Up ⚡️
Clone this repository ⬇️
Clone our dev-local repository and follow the instructions in the readMe to get started quickly.
Using dev-local
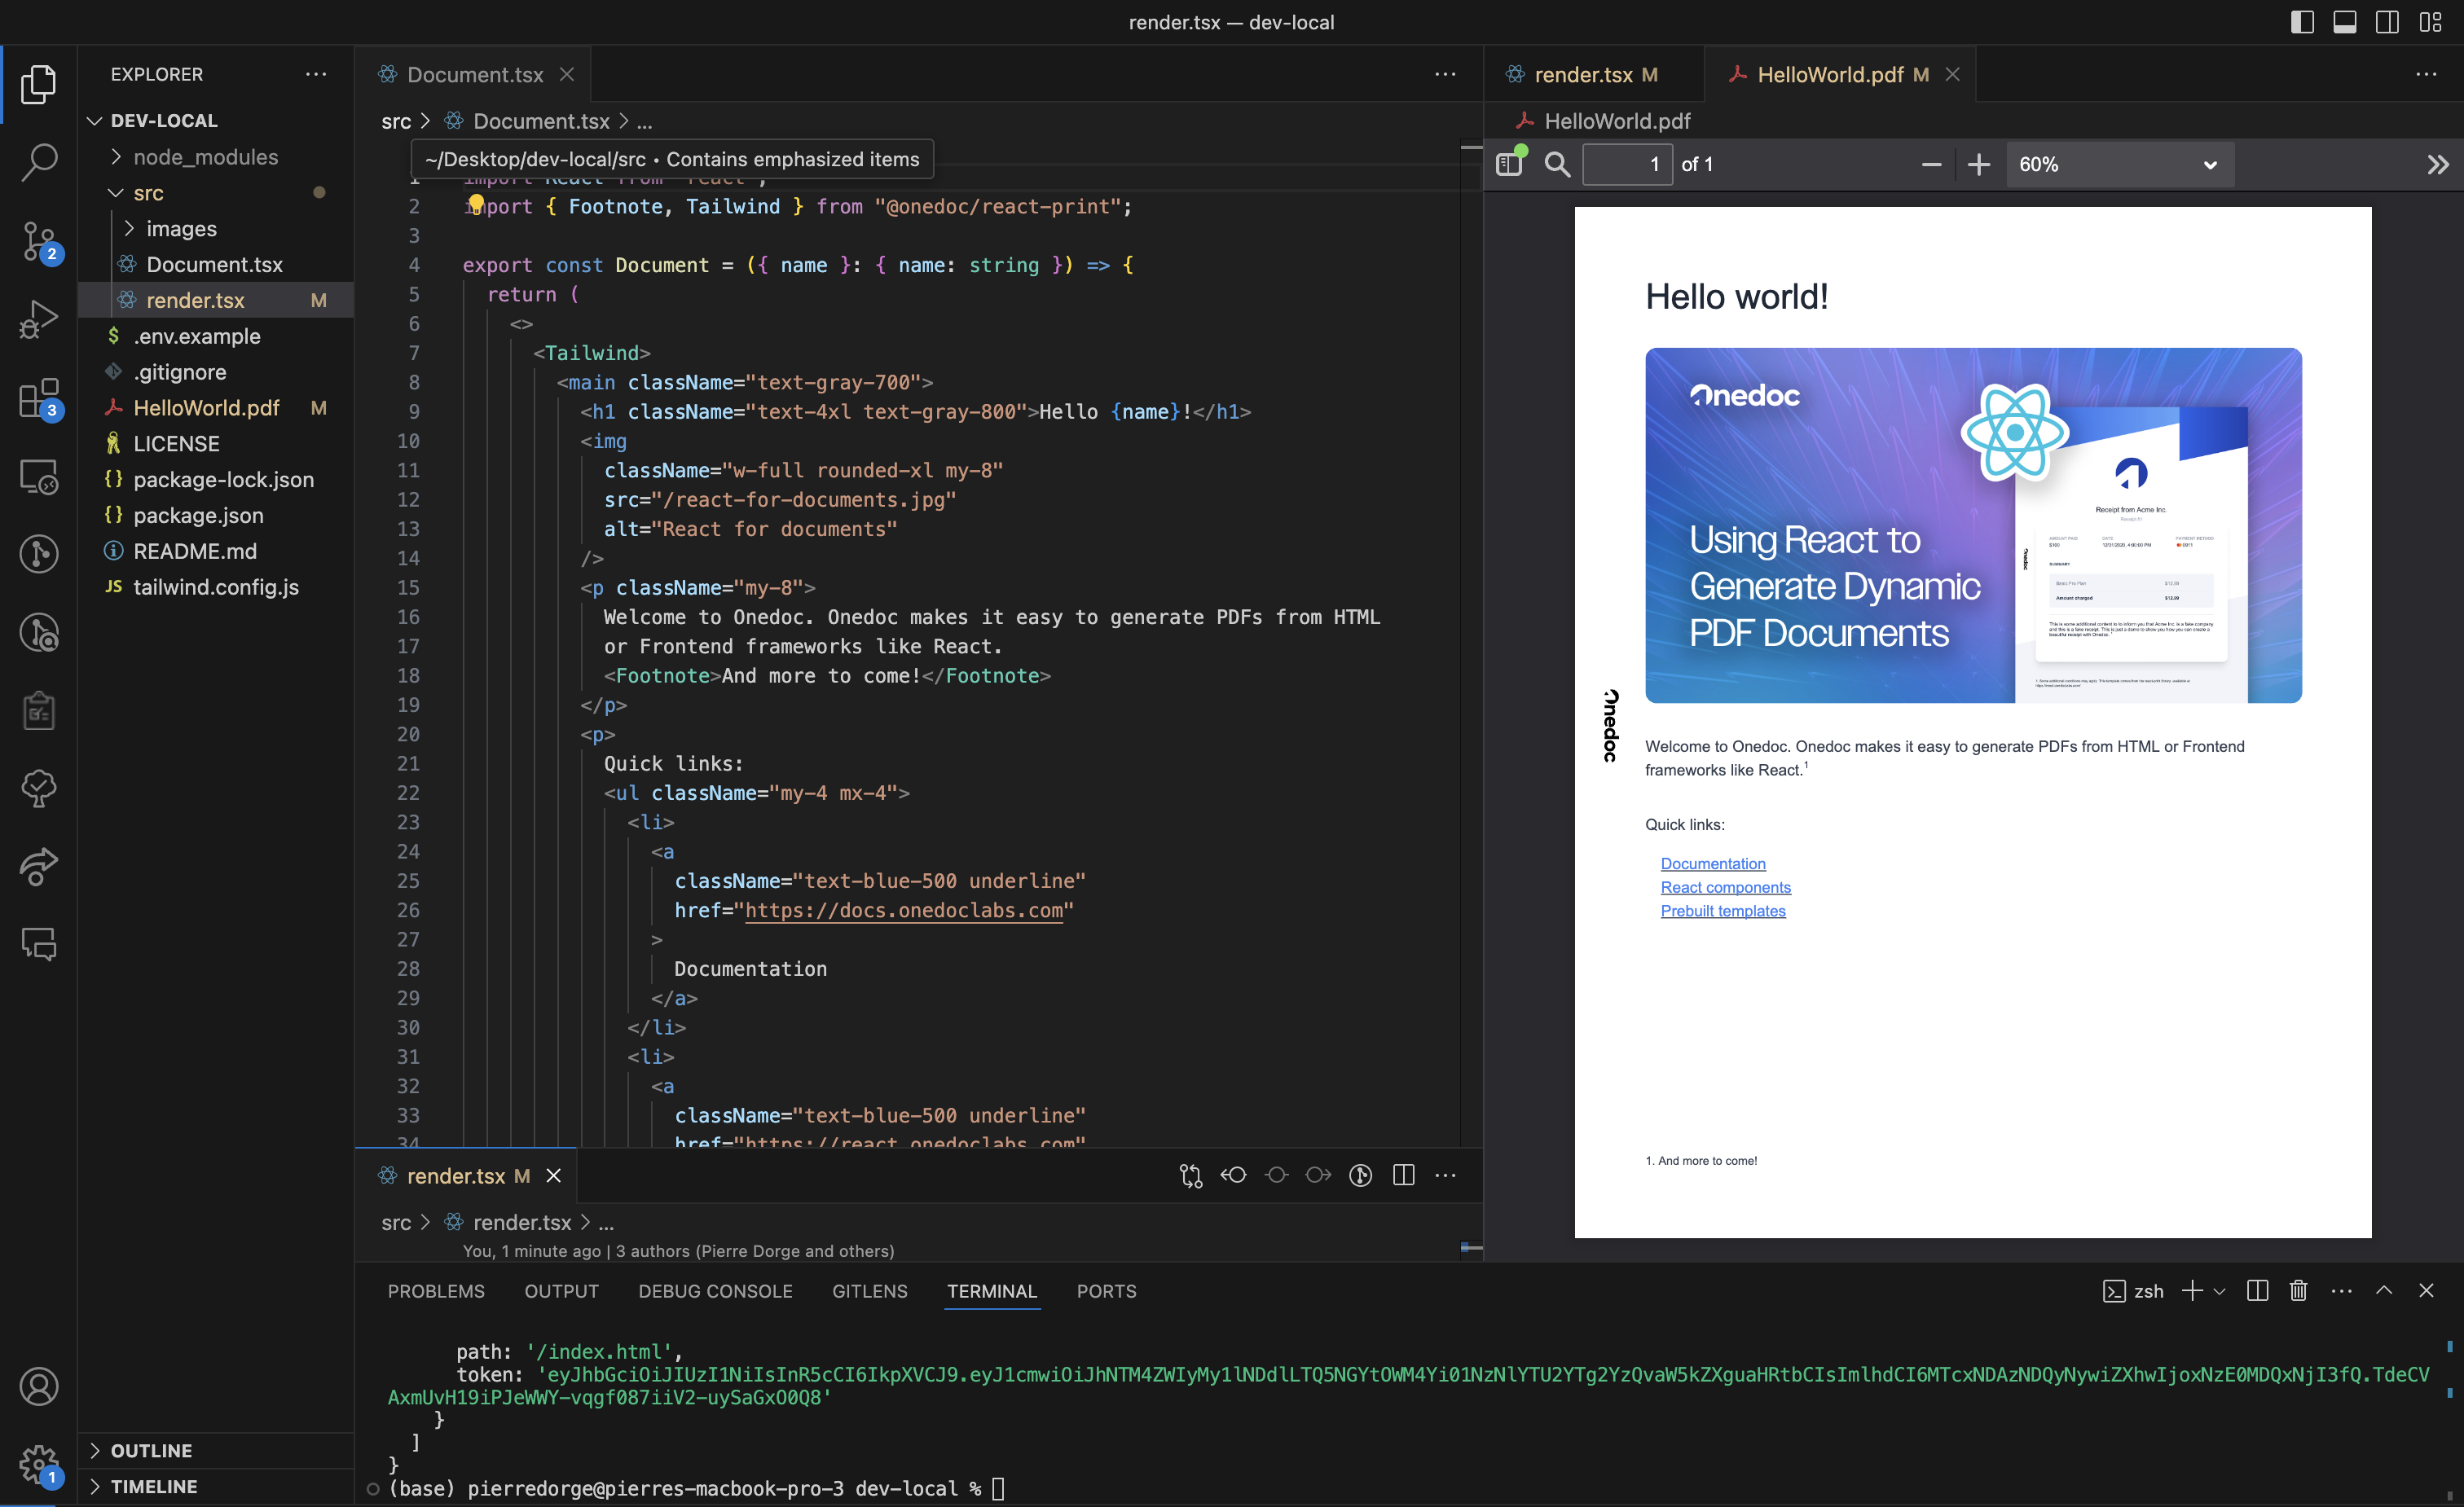
We recommed splitting your editor into two windows, one for the code and the other for the PDF viewing integration.
Manual Set Up 🛠️
1. Create directory
Create a new folder called react-print-starter and initialize a new npm project
2. Install the dependencies
Get the react-print package locally
3. Create your first PDF Component
Create a new documents folder, then create a new file inside called index.jsx and copy the following code:
4. Compile your document to HTML
Back in your parent folder, create a main.jsx file that imports your document an renders it using the compile function.
5. Generate your document with FileForge
We recommend generating your PDF using the FileForge API, as it is specifically designed to integrate seamlessly with react-print. However, you are welcome to choose any external renderer that better meets your needs. How to generate my PDF from my react-print component.
6. Next steps
Try to modify your PDF by using our different pre-built components.